
Create Animated Videos Using Free Tools: For Beginners
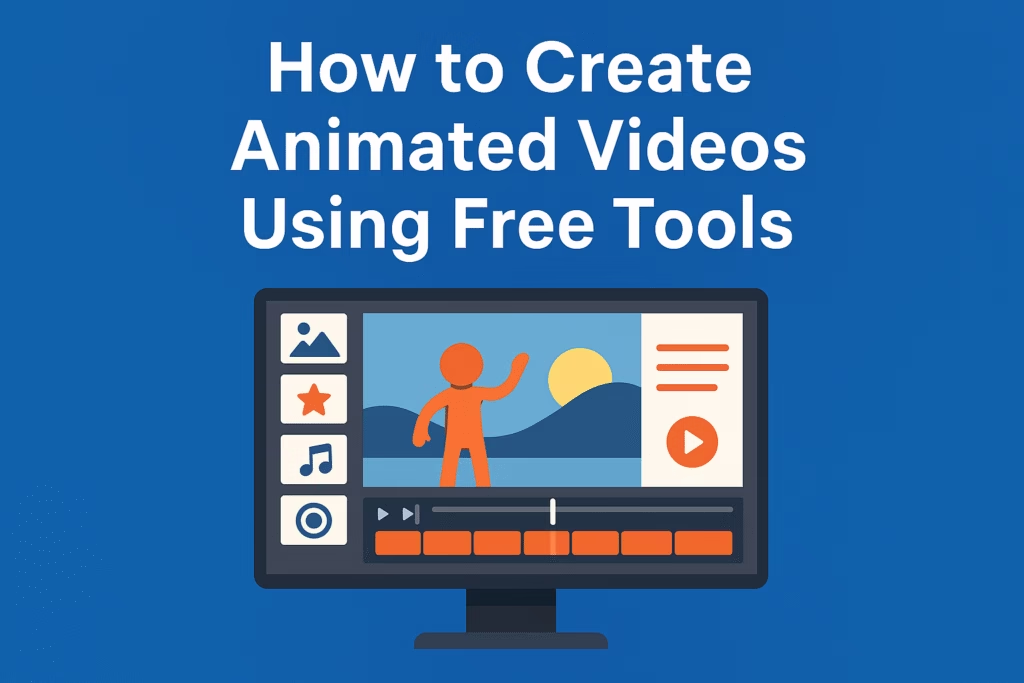

Creating animated videos can seem like a daunting task, especially if you are new to video production or have a limited budget. However, with the advancement of technology, there are plenty of free tools available that make animation accessible to everyone — from students and hobbyists to small business owners. This comprehensive step-by-step guide will teach you how to create captivating animated videos using free tools, with easy-to-follow instructions and helpful tips.
Why Create Animated Videos?
Animated videos are compelling because they simplify complex ideas, engage viewers, and can boost your content marketing efforts. Whether you want to create explainer videos, educational tutorials, promo clips, or social media content, animation helps you stand out in a crowded digital space.
Since many powerful animation tools cost a fortune, free alternatives let you experiment without financial risk. These tools come with pre-designed templates, drag-and-drop interfaces, and user-friendly timelines, making it possible to produce professional-quality animations without prior experience.
Best Free Tools to Create Animated Videos
Here are some of the best free tools you can start with:
- Canva (Free Plan with Animation Features)
Best for simple animations, text effects, GIFs, and social media videos. - Animaker (Free Plan)
Great for beginners who want to create character animations and explainer videos. - Powtoon (Free Plan)
Offers a range of templates and styles for animated presentations and videos. - OpenToonz (Open-Source)
A powerful tool for traditional frame-by-frame animation. - Blender (Open-Source)
Ideal for advanced 3D animation; requires more learning but very powerful.
For this tutorial, we’ll focus on Animaker because it balances ease of use and creative flexibility, perfect for beginners.
Step-by-Step Tutorial: How to Create Animated Videos using Animaker

Step 1: Sign Up and Log In
- Go to the Animaker website (animaker.com).
- Click the Sign Up button (top right).
- Register using your email or social login, then confirm your account through the verification email.
- Log in to access the dashboard.
Step 2: Create a New Project
- Once logged in, click the Create button on the dashboard.
- Choose Create a Video → select a Blank Project or pick a pre-made template based on your video type (e.g., explainer, marketing).
- Name your project and choose the video aspect ratio (e.g., 16:9 for YouTube, 1:1 for Instagram).
Step 3: Explore the Animaker Interface
- Main canvas area where your scenes and animations appear.
- Left sidebar contains a library of assets: characters, props, backgrounds, text, shapes, etc.
- Right sidebar shows your Scenes — each scene is like a slide in your video.
- Bottom timeline controls the duration and sequencing of animations and audio elements.
Step 4: Add Backgrounds
- Click Background in the library to select from available backgrounds (solid colors, gradients, images).
- Drag your selected background onto the scene.
Step 5: Add Characters and Props
- Go to Characters or Props in the asset library.
- Drag and drop characters or objects to your canvas.
- Resize, rotate, and position as needed by clicking and dragging on the elements.
Step 6: Edit Text
- Click Text in the library, then choose a text style (heading, subheading, body text).
- Drag text onto the canvas, click inside to edit the message, and adjust font, size, color, and alignment using the top toolbar.
Step 7: Animate Objects and Text
- Select an element (character, prop, or text).
- Click the Animate button or right-click and choose animation presets (fade, bounce, zoom, slide-in, etc.).
- You can customize animation timing via the timeline at the bottom.
Step 8: Add Scenes and Adjust Duration
- Add new scenes by clicking + Add Scene on the right sidebar.
- Duplicate or delete scenes as needed.
- Adjust each scene’s duration by dragging the edges in the timeline (default is 5 seconds, max 15 seconds).
Step 9: Add Voiceover & Background Music
- Click the Audio tab.
- Upload your own voiceover file or record directly inside Animaker.
- Choose from Animaker’s free music library for background tracks.
- Adjust audio volume levels for balance.
Step 10: Preview Your Video
- Click the Preview button above the timeline to watch your video in real time.
- Use the preview to check timing, animations, audio sync, and overall flow.
Step 11: Export & Download
- When satisfied, click Publish or Download.
- Choose free download options in standard quality (MP4 format).
- You may upgrade to a paid plan for higher resolution or additional features.
These detailed instructions follow the core Animaker workflow for beginners, making it easy to create animated videos without needing drawing or video editing experience.
Video Tutorial
Watch this detailed YouTube tutorial for visual guidance: ???? How to Create 3D Animation Story Videos with Free AI Tools by AI Playground.
Common Mistakes to Avoid
- Overloading with text
- Using too many animations
- Ignoring audio quality
- Not previewing before publishing
Use Cases for Animated Videos
- Marketing: Product demos, brand storytelling
- Education: Tutorials, explainer videos
- Entertainment: Short films, memes
- Social Media: Reels, TikToks, YouTube Shorts
Tips for Making Engaging Animated Videos
- Keep it short and focused. Aim for 1-2 minutes to maintain viewer interest.
- Use clear and concise script. Plan your message before animating.
- Add consistent branding. Use logos, colors, and fonts that represent your brand.
- Include call-to-action. Tell your viewers what you want them to do next.
- Experiment with animation styles. Mix character animations, text motion, and icons.
- Use minimal text on screen. Let visuals complement your narration or background music.
How To Use Other Free Tools for Animation
- Canva: Perfect for animated social posts and GIFs. Use the “Animate” button after designing your slide.
- Powtoon: Offers drag-and-drop, suitable for creating fun and dynamic presentations.
- OpenToonz: If interested in traditional animation, explore drawing frames and onion-skin techniques.
- Blender: For 3D animation enthusiasts, Blender lets you model, rig, animate, and render videos, though it has a steep learning curve.
Bonus: Resources to Enhance Your Animated Videos
- Free sound effects and music: Use sites like Free Music Archive, Pixabay Audio, or Freesound.
- Free images/icons: Unsplash, Pexels, and Flaticon provide royalty-free visuals.
- Online voiceover services: Tools like TTSMP3 or Google Text-to-Speech can generate narration if you don’t want to record your own voice.
Conclusion
Creating animated videos using free tools is not only possible—it’s easier than ever before. With platforms like Animaker, anyone can create professional-looking animations through intuitive drag-and-drop features. Whether you’re crafting marketing videos, educational content, or social media clips, this guide equips you with the knowledge and confidence to start animating today.
Start experimenting, keep learning, and soon you’ll be producing animated videos that captivate your audience, all without spending a dime on software.
If you want, I can also describe how to insert images or videos step-by-step, or suggest video scripts for your animated videos. Just ask!
Visit for more tech insights. Subscribe to our blog for the latest tech news!
Last updated on July 30, 2025 at 4:59 pm


